

Creating your ClassFit account
From our homepage www.classfit.com, click on the “Sign Up for Free” button.
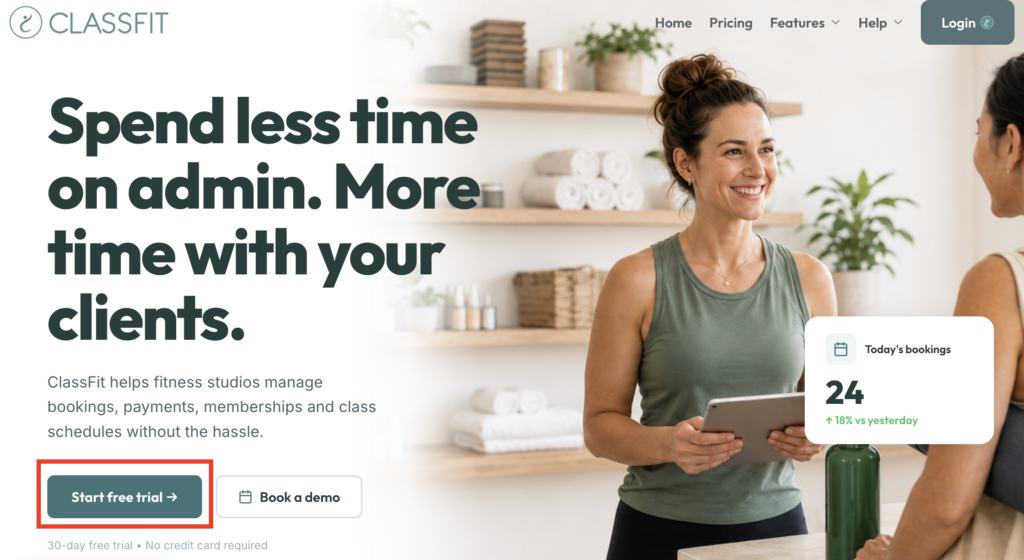
Then you will be directed to our Login screen. Choose the option to Create an Account.

We ask the typical questions you would expect and explain why we need each piece of information below:
- First and last name – So we know what to call you.
- Email address – So we know how to contact you with booking confirmations and updates.
- Password – So we can keep your account secure.
- Country – If you’re a business, we need to know what currency your classes will be charged in, and if you’re searching for classes we’ll make sure we show you classes near you.
- Account type – We’ll ask you if you’re using ClassFit mainly to create and manage classes, or to find and join classes. This will determine whether we default to the Organizer or Participant view on your profile.

Once you’ve filled in your details and hit the sign up button you’re nearly done. We’ll send you an email to confirm your email address. If you still haven’t seen it after 15 minutes, we’d recommend checking your junk mail.
You can switch between Organizer and Participant view at any time. Just click on Participant View on the left side menu to switch or click on the dropdown at the upper right side, beside the profile image and choose Switch to Studio view, depending on what you require.
If you need any further help with this, please email [email protected].