

Setting up your profile
Setting Up Your Profile
Once you’ve created your account, you may want to set up and customize your profile. This is a great place to send your clients to, where they can see all of your classes and information in one place. In this guide, we’ll show you how!
Once you’re logged in to our website, go to the left side menu. On the top, choose My profile.
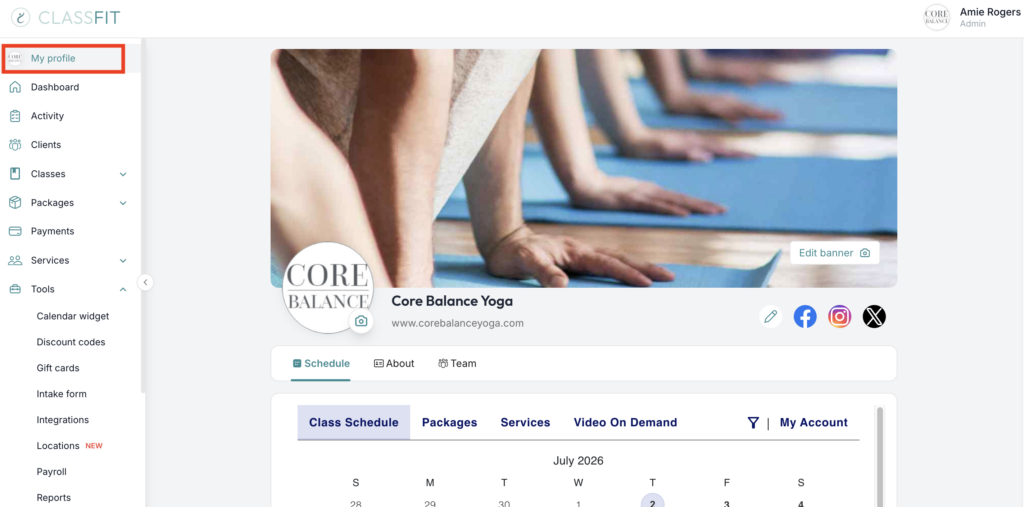
From your profile page, you can edit almost anything. Click on Edit Banner to change your banner. To avoid a stretched or squashed cover image, we recommend you use an image that is 1200 × 270 pixels.

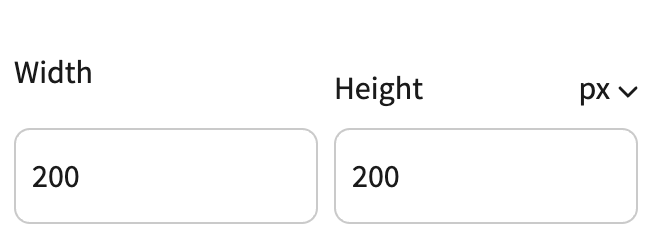
Click on the Camera icon to change your Profile Image. To avoid a stretched or squashed cover image, we recommend you use an image that is 200 × 200 pixels.
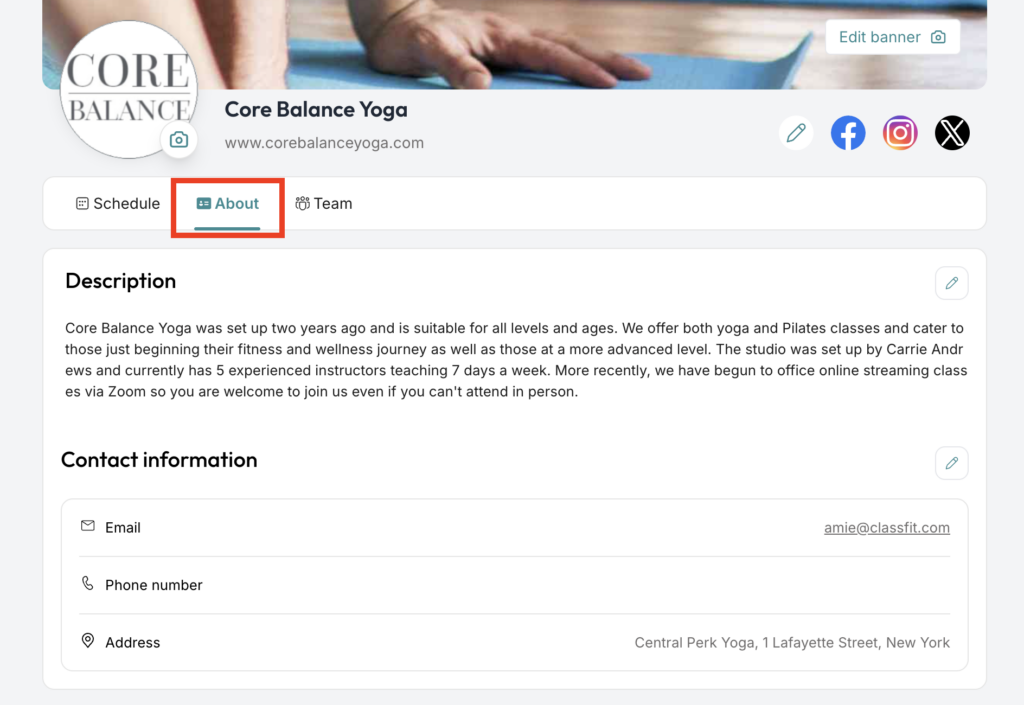
Your “About Your Business” and Other Information
- Edit the text in each field as required.
- Click Save.
Using Your Profile
You can use your profile like a mini-website if you don’t already have one. This page is great for sharing with your clients as it will have your branding and a list of all of your classes for your clients to join. To share your profile with your clients, simply copy the URL/website address and share it via email or post it on your social media channel. When your clients click this link they will be taken directly to your ClassFit profile page.
If you need any further help with this, please email [email protected].